
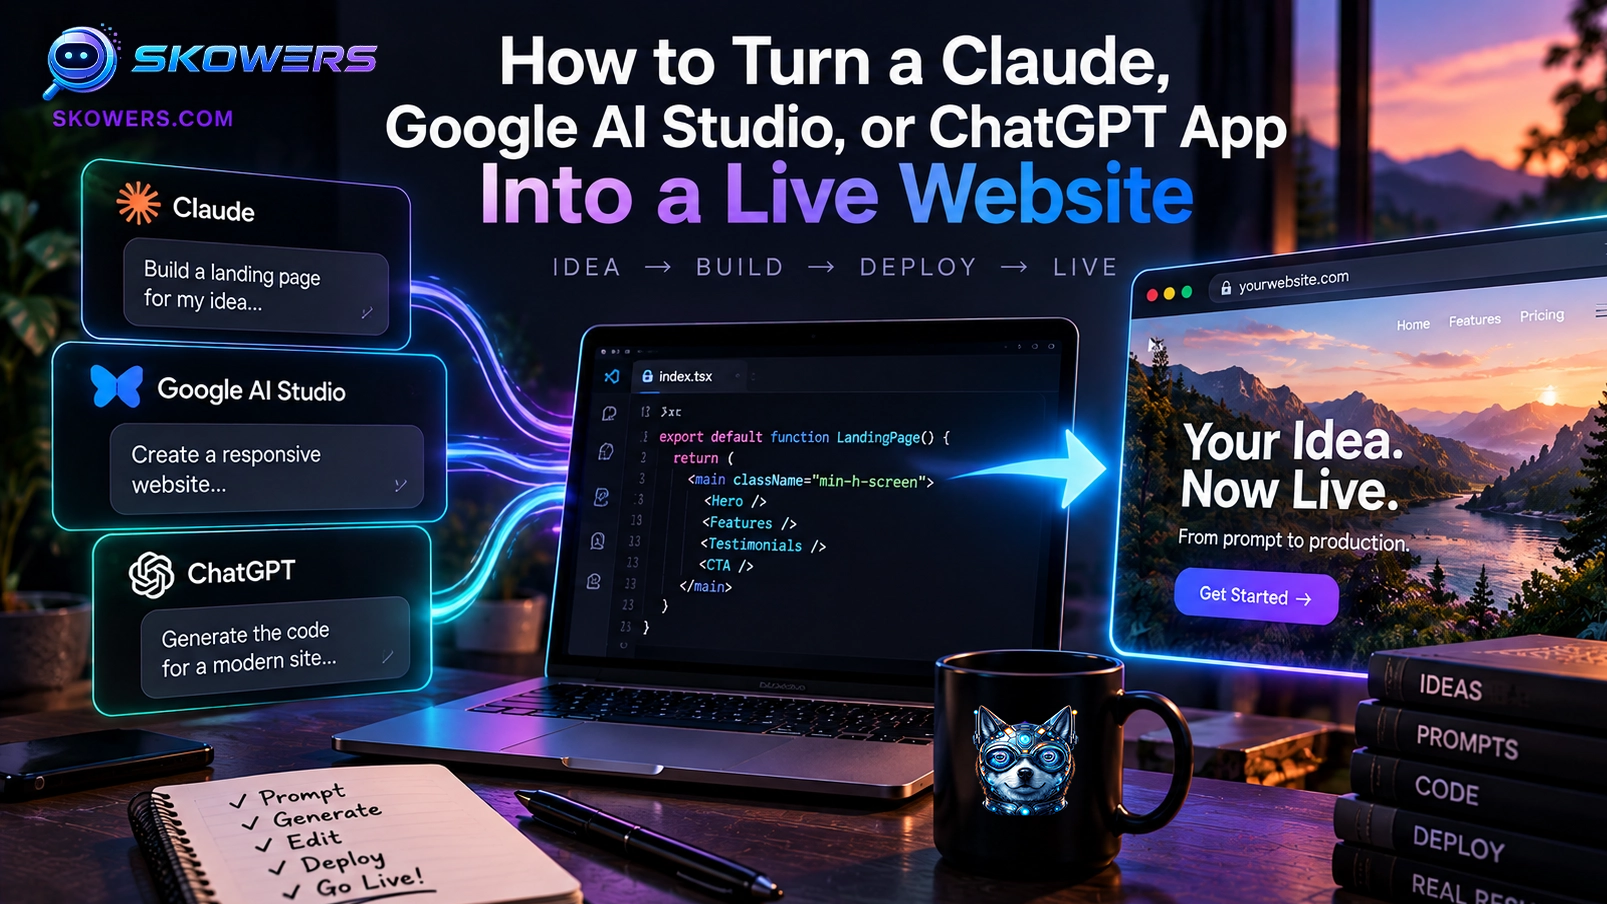
How to Turn a Claude, Google AI Studio, or ChatGPT App Into a Live Website
You built an app with AI. It looks right in the preview. Now you want a website link you can share—and a way to keep improving it.
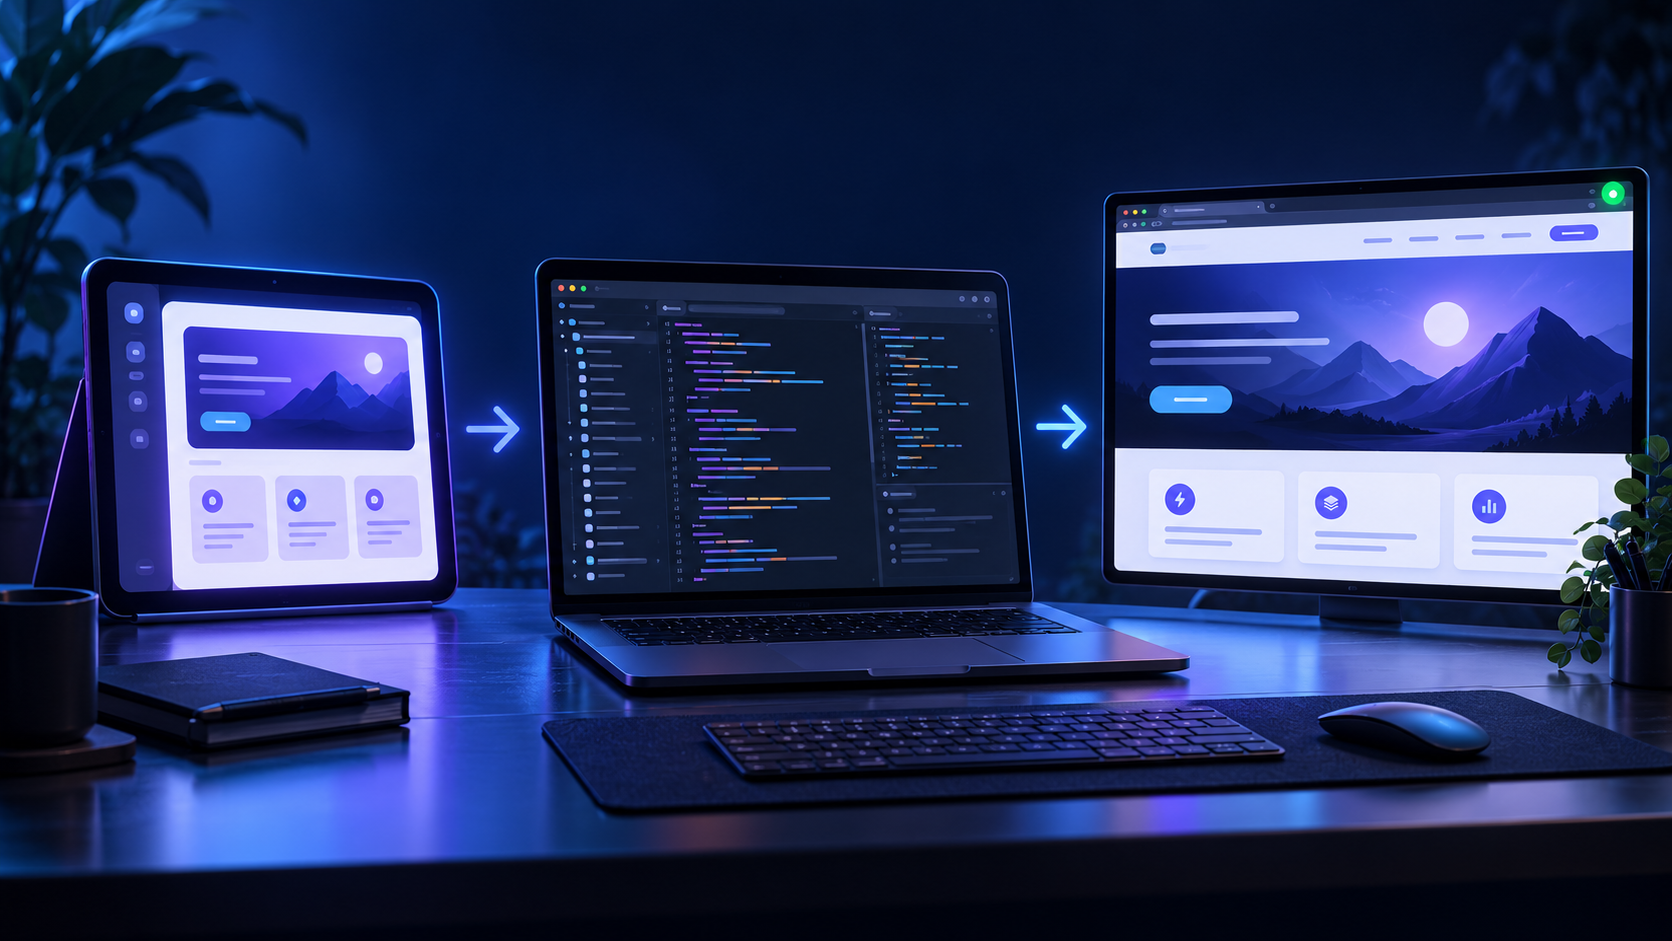
Start by identifying what you have: a ready-to-publish page, a project that needs building, or an app that also needs a backend. That choice determines the easiest publishing route.
This guide helps you get your files, test the app, choose a deployment method, and check that the public version really works.
Last reviewed October 31, 2026. Export and deployment controls can change. Check the current options in your AI tool and host.
Skowers may earn a commission if you use the Netlify partner links below, at no additional cost to you.
Choose your starting point
What you have
A folder with index.html, CSS, JavaScript, and images, with no build step or backend
Your next step
What you have
A project with package.json, source folders, and setup instructions
Your next step
Run it locally, then build it before publishing.
What you have
A single React component, incomplete code, or only a preview
Your next step
What you have
An app that calls AI, signs users in, or saves shared data
Your next step
Check its server and service needs before choosing a host.
| What you have | Your next step |
|---|---|
| A folder with index.html, CSS, JavaScript, and images, with no build step or backend | Test it, then upload the folder. |
| A project with package.json, source folders, and setup instructions | Run it locally, then build it before publishing. |
| A single React component, incomplete code, or only a preview | Ask for a complete project. |
| An app that calls AI, signs users in, or saves shared data | Check its server and service needs before choosing a host. |
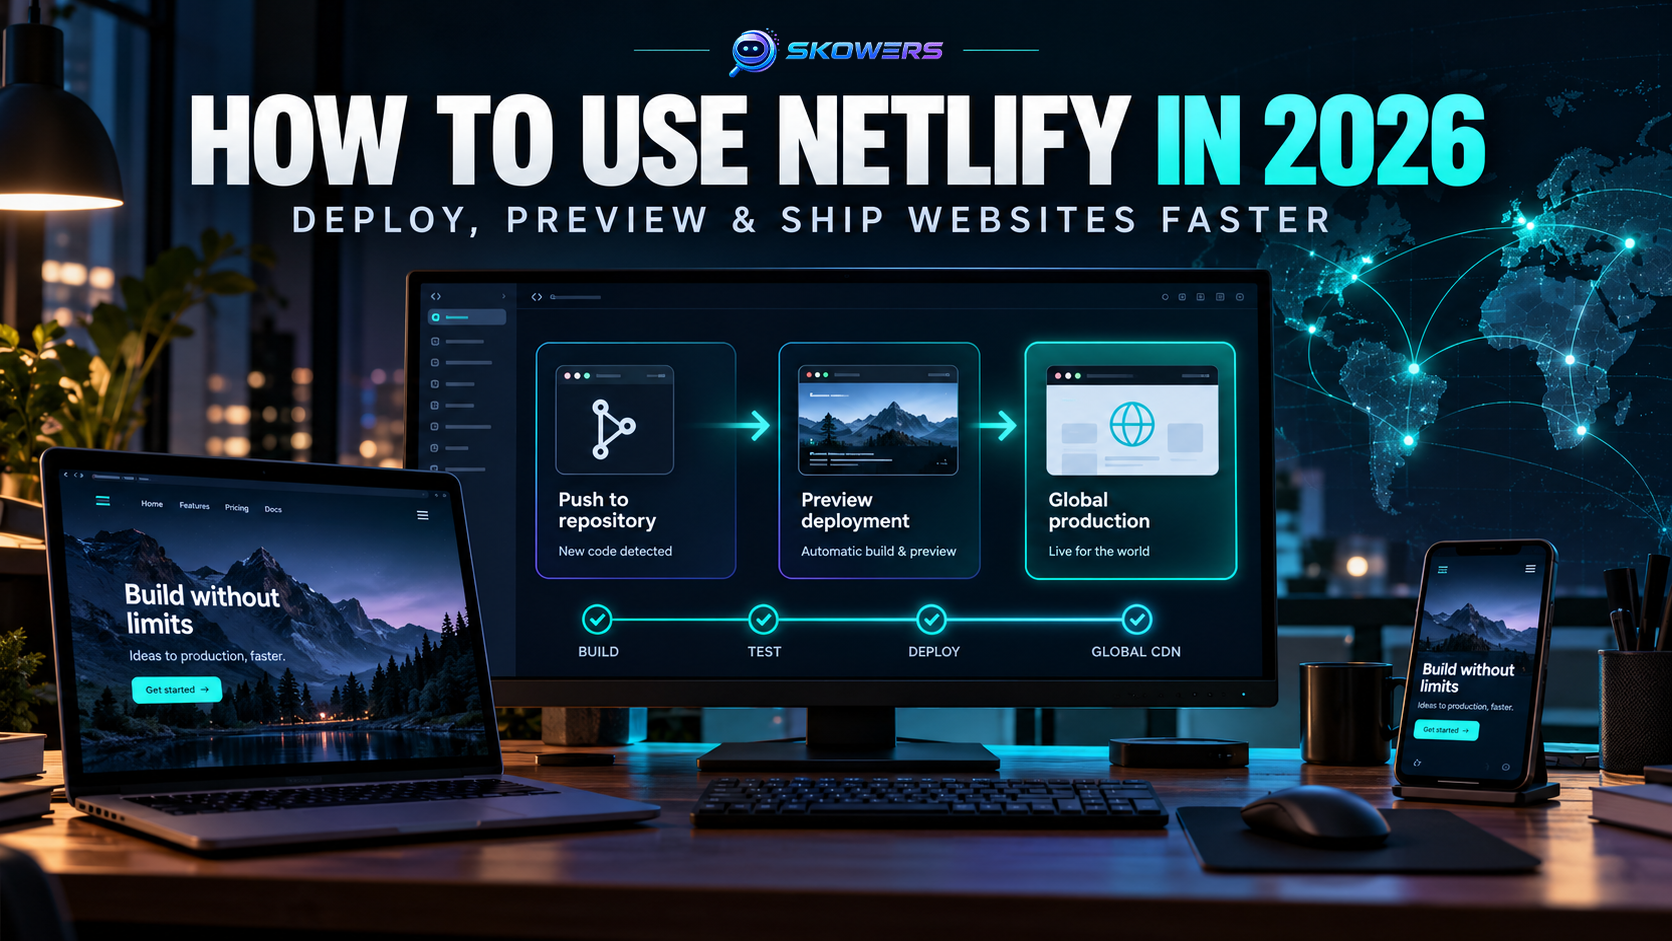
Netlify supports folder uploads and Git-connected deployments. Google AI Studio also offers a direct Cloud Run route for generated apps. You do not always need every tool in this guide.
Before you begin
Keep a backup of the original files so you can undo unwanted changes. If you need help inspecting or completing the project, use the code editor you already trust.
Your first goal: make the app's main action work outside the AI preview. Do not add features yet.
Step 1: Get the actual project files
A screenshot tells you what an app looks like. Project files tell a browser and hosting platform how to run it.
From Claude
Use the export controls available for your artifact. Claude's artifact help describes ways to view and download files; Claude Design can offer ZIP or standalone HTML exports. Options depend on the artifact type.
If the artifact uses Claude's built-in AI calls, connected apps, or artifact storage, flag those features before moving it. Downloading the interface does not automatically recreate those services on your own website.
From Google AI Studio
In Build mode, download the app as a ZIP or sync it with GitHub. Extract the ZIP before opening it in your editor. AI Studio can generate frontend and server-side code, so keep the whole project—not just the visible page.
If your only goal is a public URL, consider AI Studio's Cloud Run deployment option first. Moving to another host is optional. Hosting and API usage charges may apply.
From ChatGPT
Copy or save the code you created. ChatGPT can preview supported HTML and React content, but those previews run in a sandbox. Treat the preview as something to test against, not proof that you have every file needed for independent hosting.
Copy this prompt into the tool that built your app
Prepare this app to run outside this AI tool. Preserve its current design and functionality. Do not add features or change frameworks unless necessary. Provide the complete project files with a file tree; every required component, stylesheet, asset, and dependency; a README with prerequisites and exact installation, development, and production-build commands; and an .env.example with variable names and placeholder values only, never real secrets. List features that depend on this AI tool's preview, storage, authentication, connectors, or built-in AI access. Explain which parts run in the browser and which need a server. Identify mocked features and any setup I must complete myself. If you cannot export files directly, provide complete files one at a time, labeled with their paths.
Checkpoint: you have a project folder and instructions explaining how to run it, or a clear list of what is still missing.
Step 2: Open the project and make it work locally
“Locally” means on your computer, before publishing. Open the project in your preferred code editor and select the folder you extracted or saved.
Start with an inspection prompt
Inspect this project before editing it. Tell me what framework and package manager it uses, what software I need installed, which folder I should run commands from, and the exact commands to install dependencies and start the app. List required environment variables and external services. Flag any mocked features or dependencies on the original AI preview. Explain the smallest changes needed. Preserve the design and behavior. Ask before replacing the framework or removing features.
Run the project's commands
Open the editor's integrated terminal in the project folder. Use the commands in the README or from the inspection. If the project uses npm and defines a dev script, the sequence may be:
npm install npm run dev
These are examples, not universal commands. Follow your project's instructions if they differ. Open the local address printed in the terminal, then perform the app's main task: submit the form, generate an answer, calculate a result, or save an item.
If a command fails, copy the error into your coding assistant after removing any credentials:
This is the command I ran and the error it returned. Identify the root cause and make the smallest fix. Do not redesign the app or remove the failing feature. Explain how I can verify the fix. Command: [paste command] Error: [paste error with credentials removed]
Checkpoint: the app opens outside the original preview, and its main action works with real input.
Step 3: Check what the app needs online
Before publishing, ask your editor for a deployment checklist:
Audit this project for deployment. List its browser code, server code, data storage, authentication, AI calls, uploads, email, and payments. For each feature, state whether it works now, is mocked, needs configuration, or is incompatible with the proposed host. If deploying to Netlify, explain any backend changes required before editing files. Do not assume a local Node.js server will run unchanged.
This matters especially for AI Studio exports: Google documents a server-side runtime and secrets that need attention when the project moves elsewhere.
Keep secret keys on the server
An environment variable is a named setting stored outside your source code. It is not automatically private if your build copies its value into browser JavaScript. Netlify recommends server-side functions for runtime secrets.
For AI Studio exports that use Gemini, configure GEMINI_API_KEY in the new hosting environment and keep Gemini calls server-side. If a key was exposed in a preview or repository, replace it before launch.
Check whether any private credentials can reach browser code, generated JavaScript, public files, or logs. Show variable names and affected file paths without printing secret values. Explain what must change before publishing.
Separate “the page works” from “the service works”
- Does a form actually deliver or save its submission?
- Does an AI button make a real request or return a sample answer?
- Does sign-in work for someone other than you?
- Can the intended user retrieve saved information?
- Are failure messages understandable?
For apps with paid AI calls, review usage limits and billing before sharing the URL. Google notes that deployed AI Studio apps can consume your API usage.
Checkpoint: every promised feature works or is clearly labeled as unavailable. You know which services and credentials the deployed app needs.
Step 4: Publish using the simplest suitable route
Route A: Upload a static website
Use this route for a website that does not need its own server-side features. If the project needs a build, run its documented production-build command and locate the finished website folder. It may be named dist, build, or something else specified by the project.
- Open Netlify and sign in.
- Use its drag-and-drop option to upload the finished folder.
- Open the URL it provides and test the page.
For a plain HTML website with no build step, upload the folder containing index.html and its supporting files. Netlify documents folder uploads; a manual upload of source files that still need a build may not work as expected, so check the finished output. A static upload cannot replace a required backend.
Route B: Connect a Git repository for ongoing updates
Use this route when you want a repeatable way to change and republish the app. A Git repository stores the project's code and change history. With Netlify's Git connection, pushing changes to the configured branch triggers another build and deployment.
Before creating the repository, ask your coding assistant to check what will be included:
Prepare this project for a Git repository. Check the ignore rules so local secret files and generated dependency folders are excluded. Keep .env.example with placeholders only. Show which files will be committed. Then walk me through creating a repository and publishing it to my Git provider. Do not upload credentials.
- Publish the checked project to your Git provider.
- In Netlify, import the existing repository and select the correct production branch.
- Review the detected build command and publish settings against the project's instructions.
- Add the environment variables needed by the build and server functions.
- Deploy and read the build result.
Build-time settings and runtime secrets are different. Netlify's environment variable guidance explains how to configure them for the stage that actually uses them.
Route C: Deploy from Google AI Studio
If your app was built in AI Studio and uses its server-side runtime, deploying directly to Cloud Run may avoid a migration. Google documents this route, including server-side configuration of the Gemini API key. Visitors' Gemini calls use your key, so review billing and usage before launch.
Checkpoint: your chosen host gives you a URL, and the deployed app—not just its homepage—works.

Step 5: Test like someone who has never seen the app
Open the deployed URL in a private browser window and on a phone. Do not rely on your existing signed-in session.
Launch checklist
- The intended audience can open the site.
- The main task works from start to finish.
- Required sign-in works for a new test account.
- Forms reach their intended destination; AI features return real results.
- Saved information behaves as promised after refresh and sign-in.
- Links and direct visits to internal pages work.
- Empty inputs, slow responses, and failures produce helpful messages.
- The page is usable on a narrow screen and with a keyboard.
- Private credentials are absent from public files.
- You have reviewed hosting, API, and service costs.
If using Netlify, check project visibility too. A deployed URL does not always mean everyone can open it. Add a custom domain only after the hosting URL passes these checks; a domain is an address, not a fix for broken functionality.
If something breaks, start here
Problem
The app will not start locally
What to investigate first
Project folder, required software, installation command, and missing files.
Problem
It works in the AI preview but not locally
What to investigate first
Preview-only services, missing assets, unavailable packages, and environment settings.
Problem
The hosted build fails
What to investigate first
First meaningful deploy-log error and whether the production build succeeds locally.
Problem
The page loads but AI features fail
What to investigate first
Deployed backend, runtime credentials, and service permissions.
Problem
Refreshing an internal page fails
What to investigate first
Routing and host configuration required by the framework.
Problem
It works for you but not another person
What to investigate first
Project visibility, authentication, permissions, and dependencies on your session.
| Problem | What to investigate first |
|---|---|
| The app will not start locally | Project folder, required software, installation command, and missing files. |
| It works in the AI preview but not locally | Preview-only services, missing assets, unavailable packages, and environment settings. |
| The hosted build fails | First meaningful deploy-log error and whether the production build succeeds locally. |
| The page loads but AI features fail | Deployed backend, runtime credentials, and service permissions. |
| Refreshing an internal page fails | Routing and host configuration required by the framework. |
| It works for you but not another person | Project visibility, authentication, permissions, and dependencies on your session. |
Give your coding assistant evidence rather than saying “it doesn't work”:
Expected result: [what should happen] Actual result: [what happens instead] Where it fails: [local app, build, or live site] Exact error: [paste the relevant error with secrets removed] Recent change: [what changed before the failure] Find the smallest fix, explain why it is needed, and give me a test that verifies it.
Make your first move
If you only have a preview, start with the export prompt in Step 1. If you have files but do not know whether they are complete, open them in your preferred editor and use the inspection prompt. If you already have a tested static website, publish the finished folder with Netlify using Route A.
Related Articles
Continue Your Research